Serving Central Kentucky Since 1980!

Blog Layout
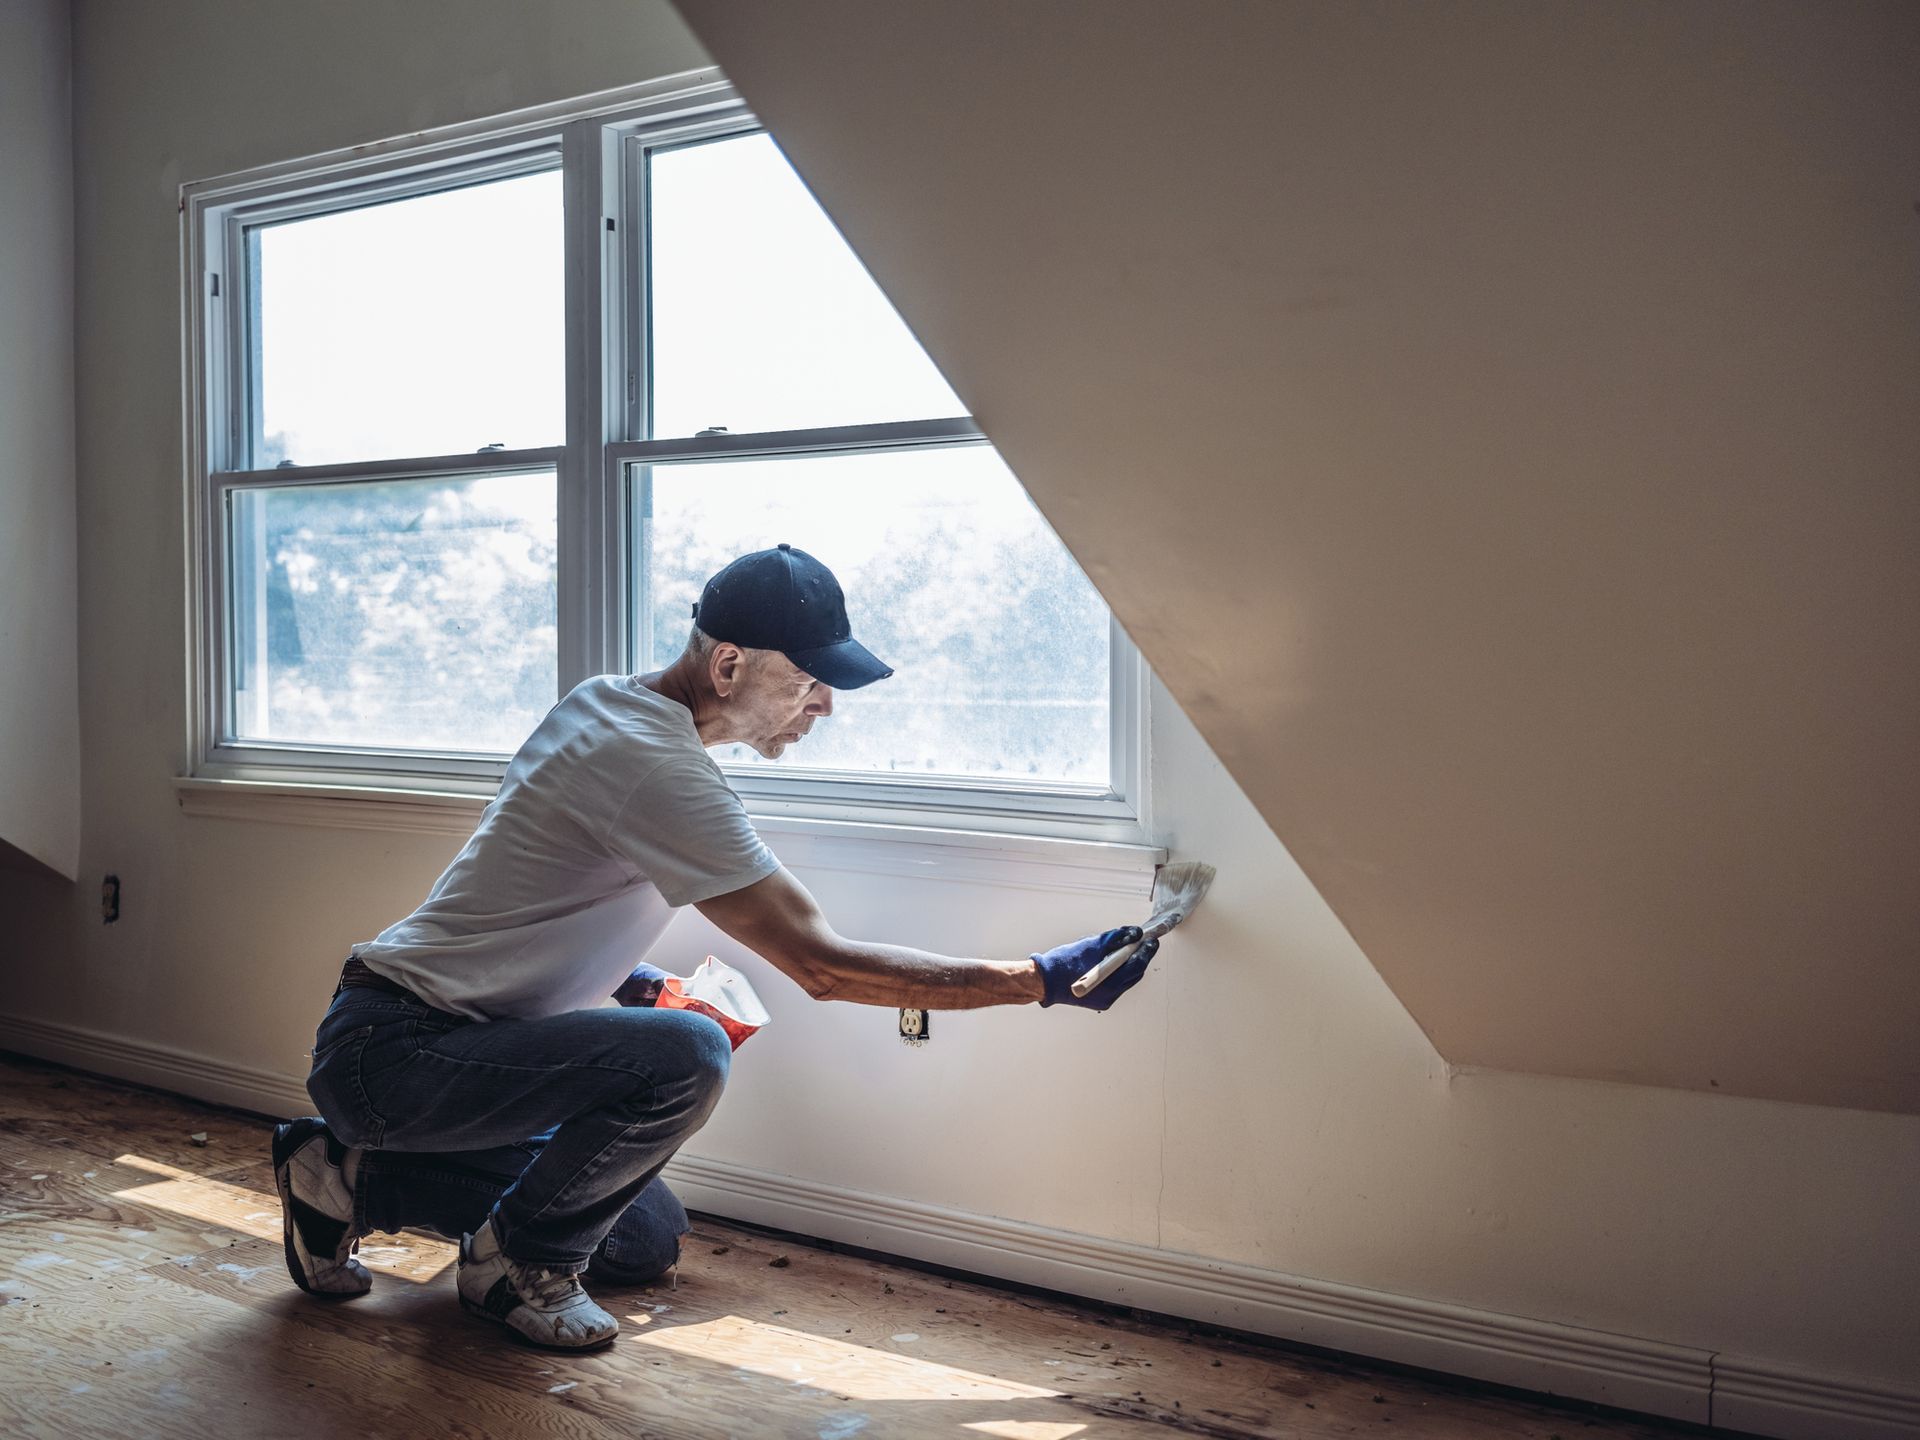
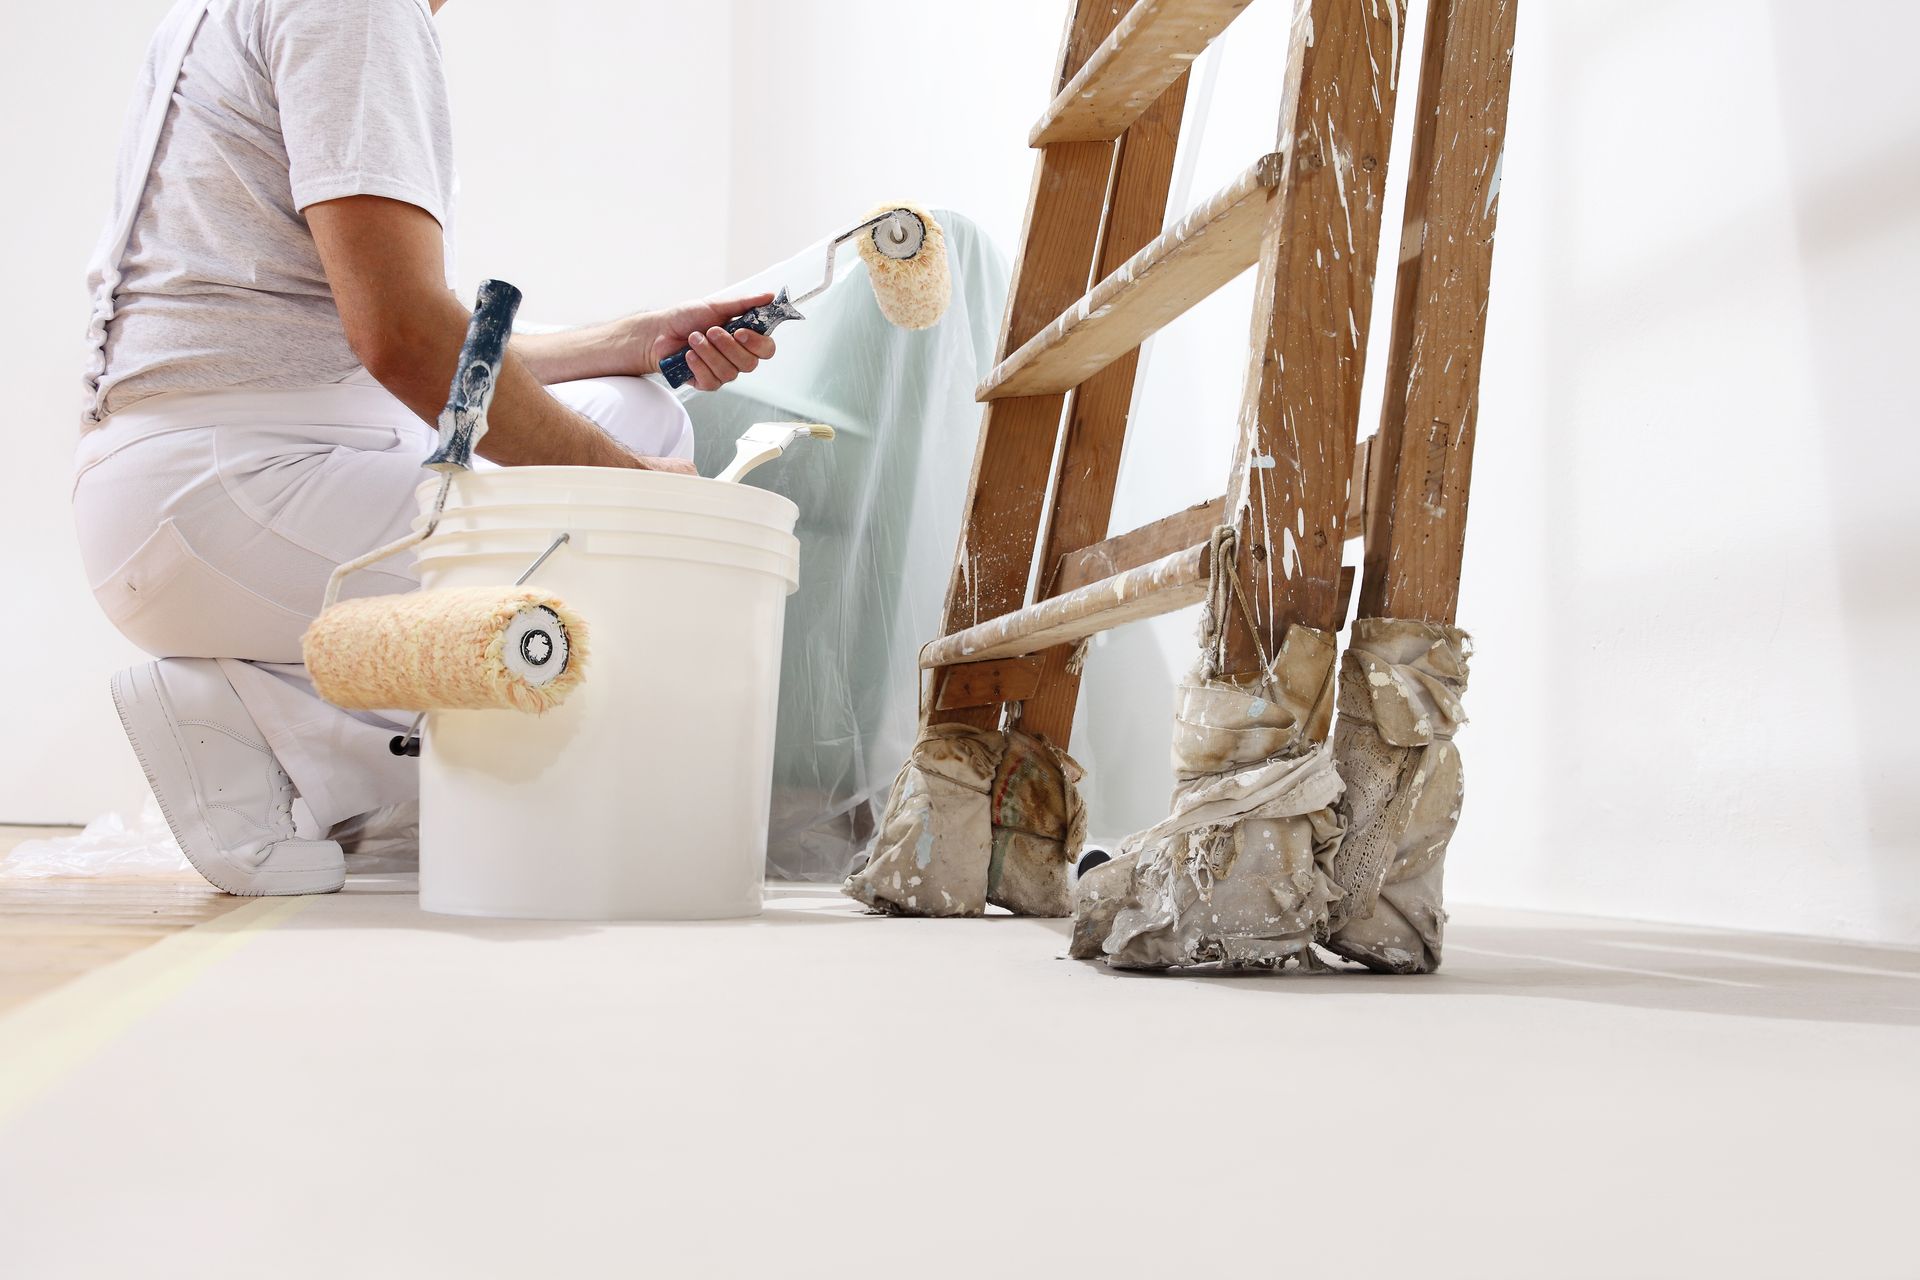
How To Paint Like A Pro: Prep
Admin • October 19, 2023
Step 1. Clean the Walls
- Use a broom to clear out hard-to-reach dust and cobwebs in the corners of the ceiling.
- Vacuum and wipe with a dry cloth baseboards and window sills.
- Remove switch and electrical plates and vent covers
- Using a cloth, wipe areas to be painted with a solution of TSP and water (don’t use a detergent or fabric softener that will leave a residue) and rinse with plain water to remove any dust, dirt, and grease. Don’t skip this step, especially in heavy traffic areas like kitchens and bathrooms.
Step 2.Cover and mask
- Tape the Trim
- Use blue painter’s tape (not masking tape) to protect areas you don’t want your paint to get on, such as trim, molding, doorknobs, window frames, and door frames. Run long strips of tape just inside the outer edges of these areas. (The outer edges of the tape should lie exactly where the wall meets the trim, covering the parts of the trim that your roller or paintbrush might hit when you paint.)
- Cover floors and furniture with a dropcloth. We prefer reusable canvas drops on floors and lightweight plastic to cover sensitive items and furniture. Re-use the plastic drops on the next area to reduce waste.
- Now is the time to look for loose trim, breaks in the trim, and places where the trim has pulled away from the wall. Make any repairs, then caulk to ensure a seamless transition between trim and walls. Use an elastomeric, water based caulk. This type of caulk has tenacious adherence and will flex up to 800% before the bond breaks. Look for nail pops and nail holes that need to be repaired. No matter what you hear or see, DO NOT use toothpaste to fill nail holes! Use spackling paste and sand smooth. It is not a bad idea to spot prime these repairs before painting the entire wall.
- Get your tools ready.
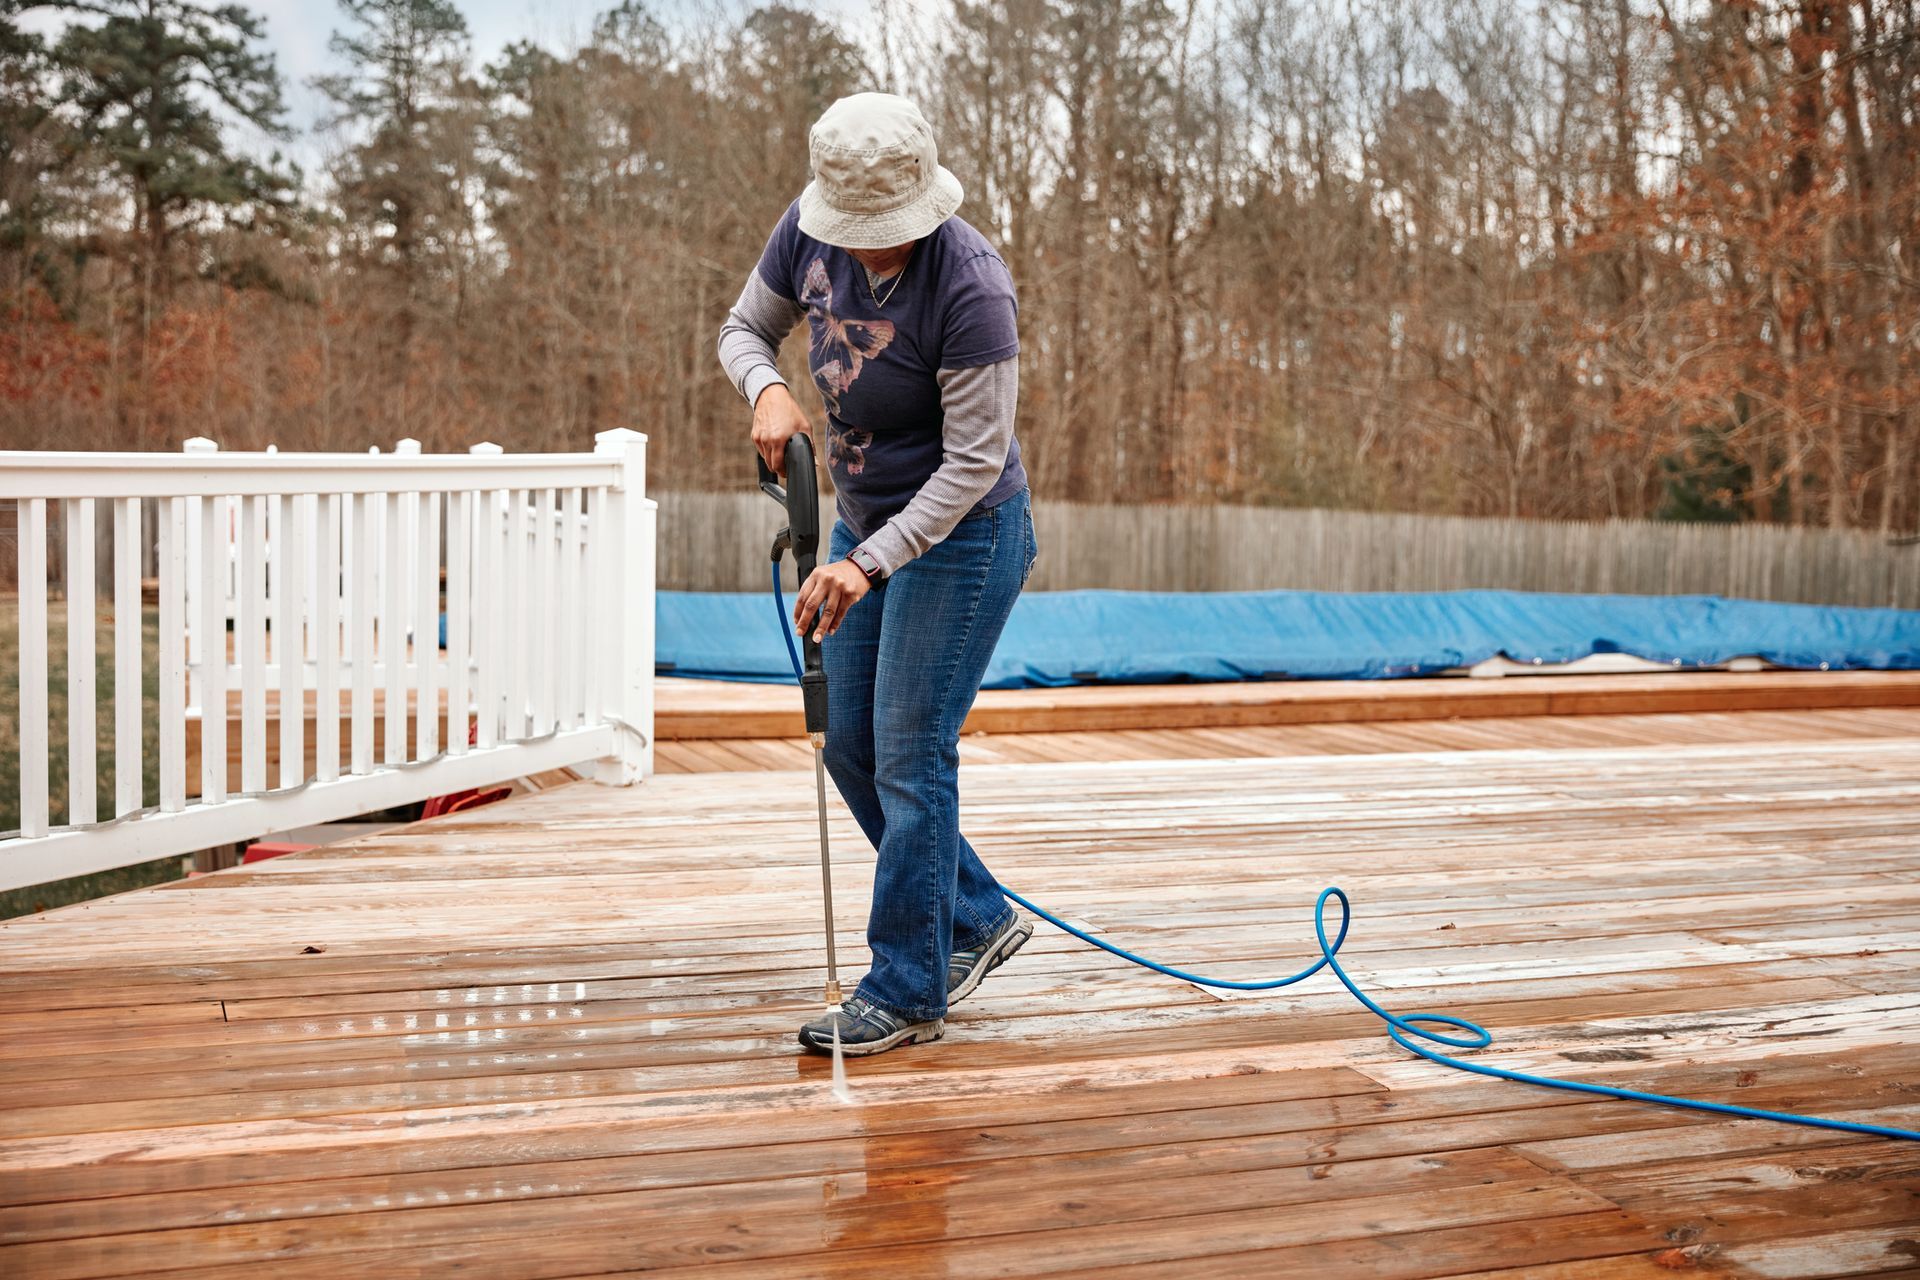
1. Move all furniture – tables, chairs, grills, planters, etc. off deck.

Discover the right sandpaper for your project with our comprehensive grit guide. From coarse to ultra-fine, choose the best sandpaper for your sanding needs.

Learn about the best caulk products for different projects, from kitchens to exteriors. Get expert advice on selecting the right caulk for your needs.

Master the art of painting and design with tips and tricks from Perspectives Inc. in Lexington, KY. Click here to learn more about our renovation insights.
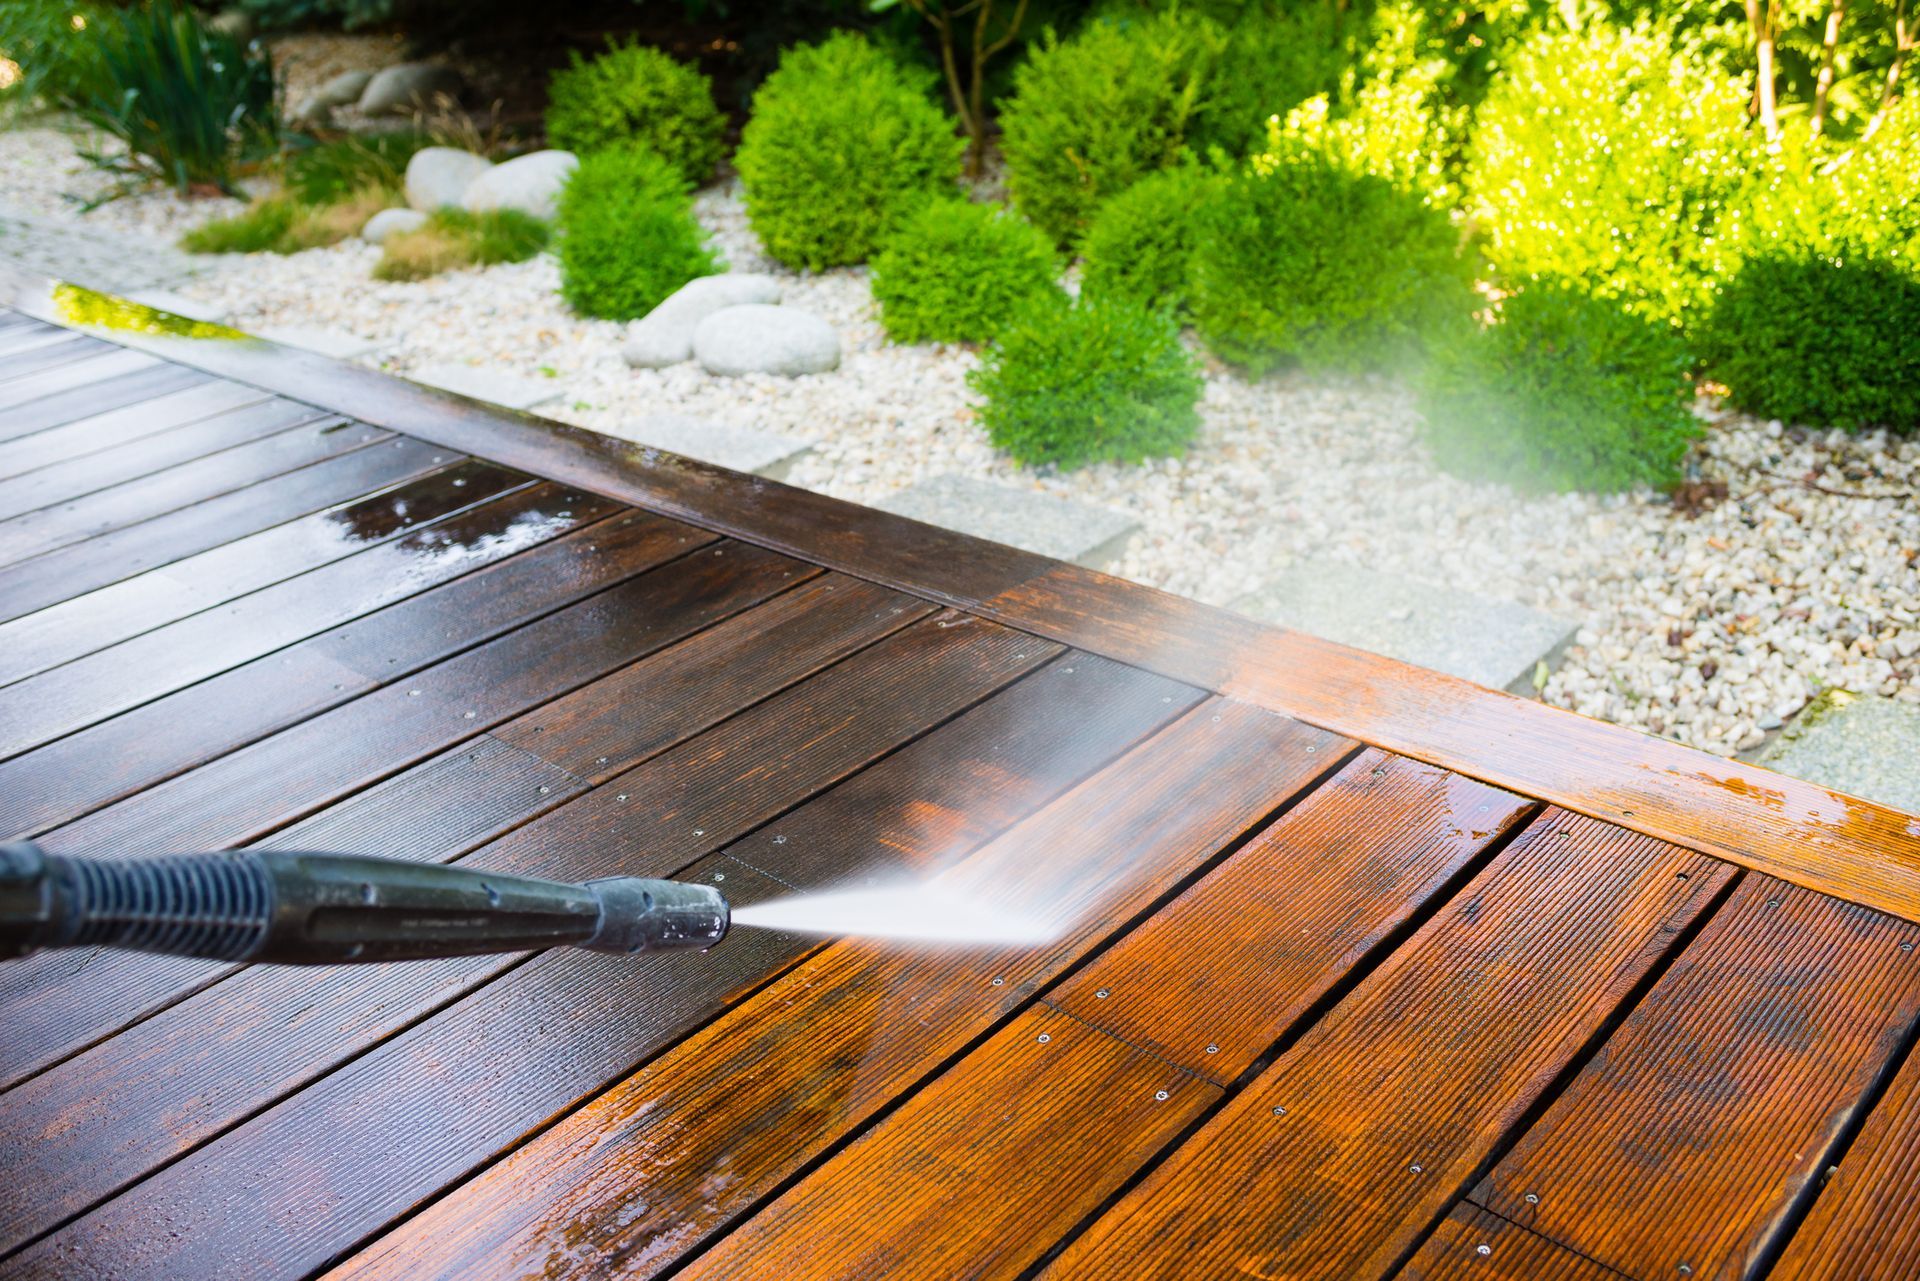
Learn the one thing you should never do when cleaning your deck to avoid damage. Get expert tips on maintaining a beautiful and safe outdoor space.
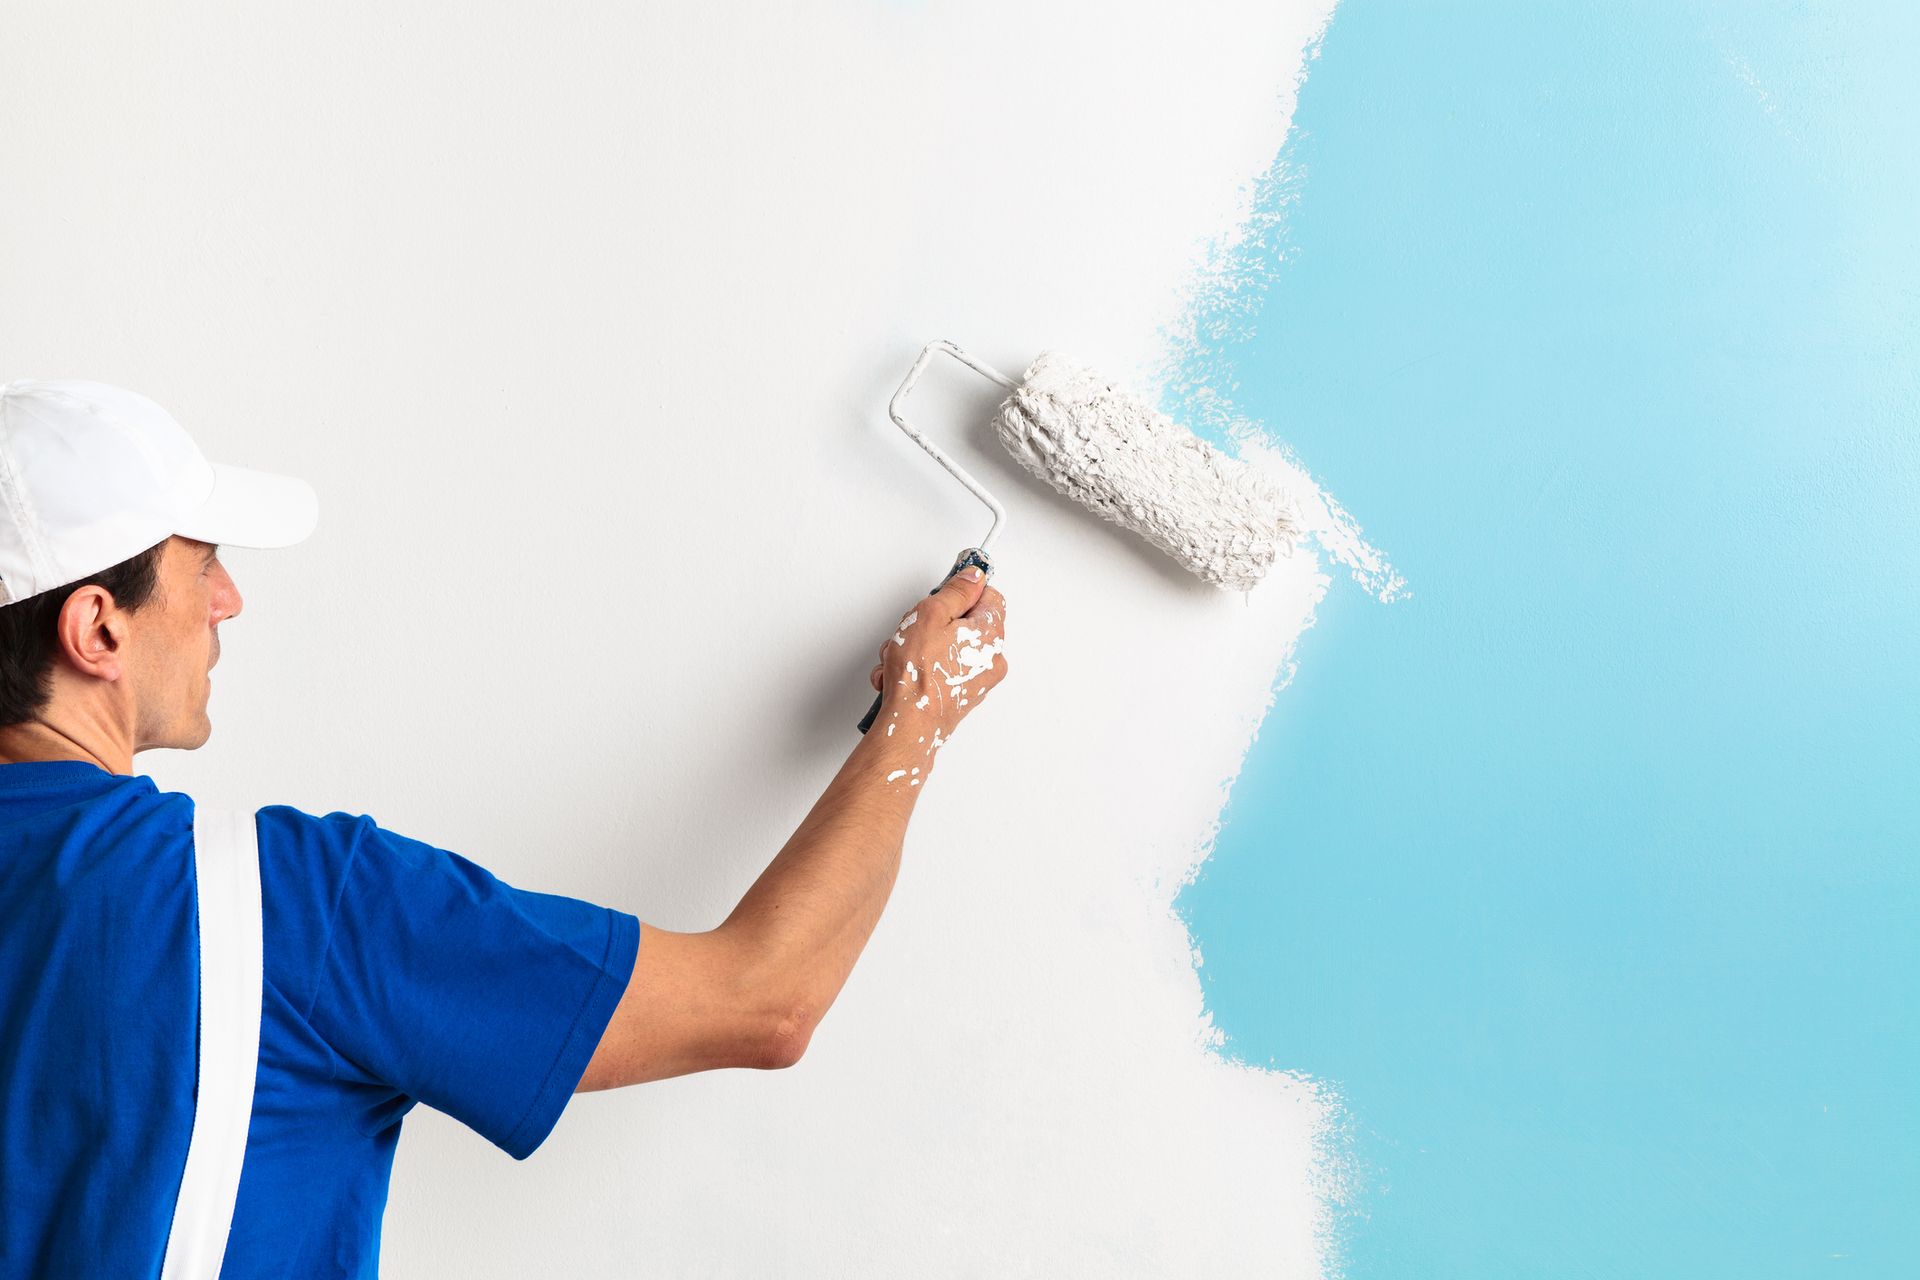
Master professional painting techniques with our expert tips. Learn how to achieve smooth, streak-free results and perfect your painting skills with ease.
Learn the essential painting techniques to achieve a professional look. From brush to roller, get expert tips for a flawless finish on your next project.
Master the final steps of painting with tips on cleaning brushes, removing tape, and ensuring perfect drying times. Finish your paint job like a pro!
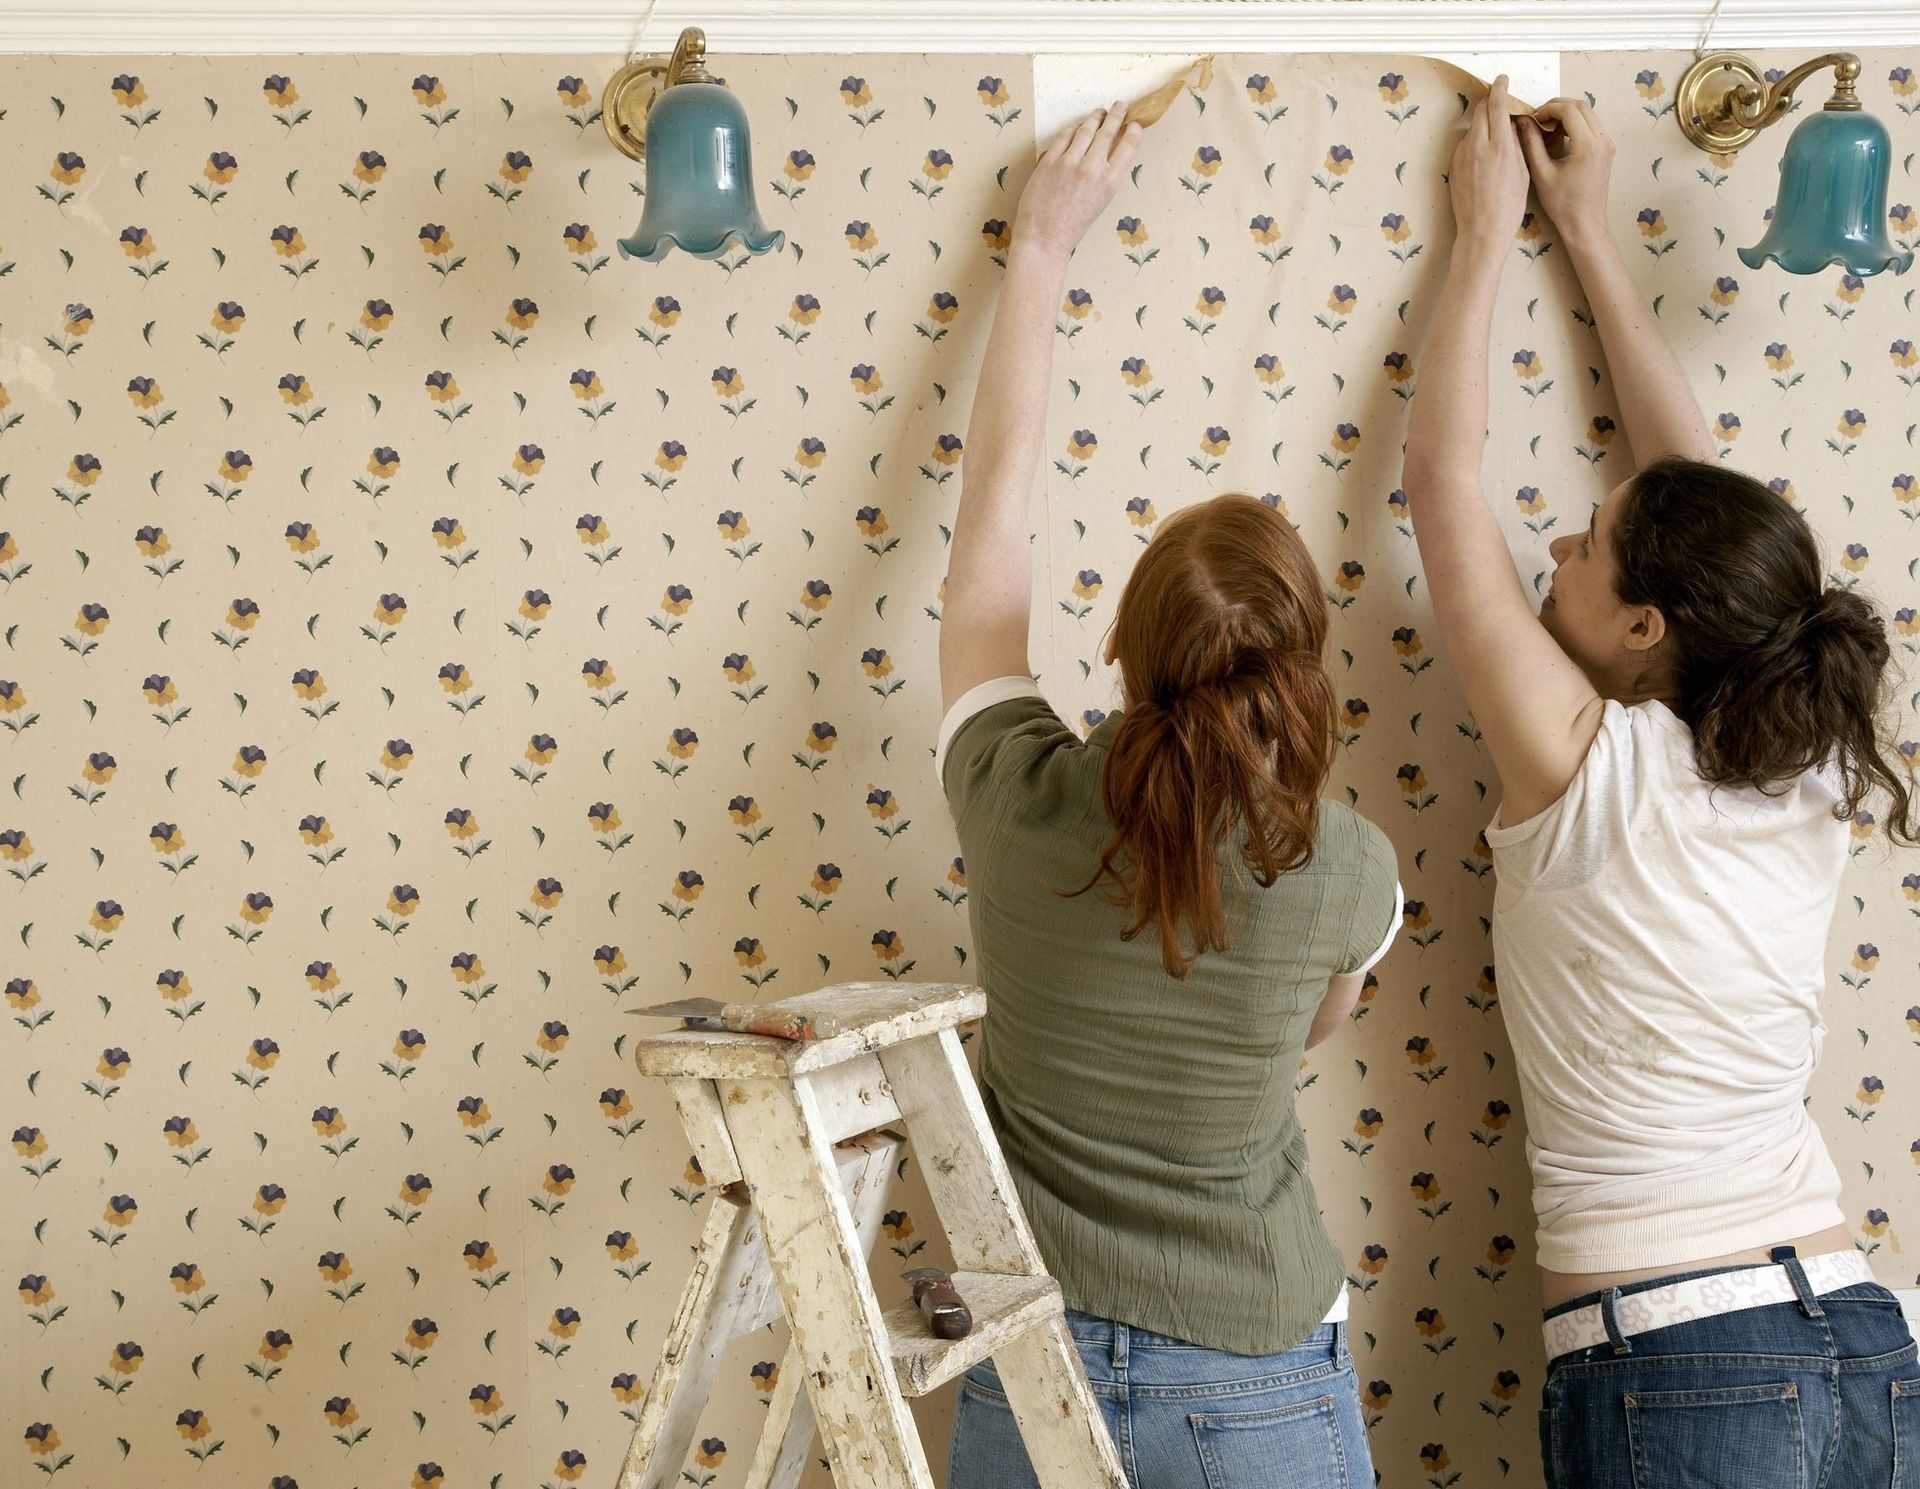
Learn how to remove different types of wallpaper easily with our step-by-step guide. Tips and tools to help you prepare your walls for redecorating.
Quick Links
Contact Information
352 Longview Plaza
Lexington, KY 40503
Member of the All-Pro Buying Group
Business Hours
- Mon - Fri
- -
- Saturday
- -
- Sunday
- Closed


