
How To Paint Like A Pro: Finishing Up
Admin • October 16, 2023
Cleanup
- Clean your Brush PROMPTLY! You can never use too much water when cleaning brushes! A great brush should last through several jobs. Even years! A brush comb and brush spinner are helpful too. Hang to dry. Clean your roller covers too! Properly cleaned roller covers can be reused several times. I know one contractor who used the same roller cover on 10 houses and got perfect results every time.
- Remove the Painter’s Tape. Remove the tape by pulling the loose end back over the tape still on the surface to minimize removal of the paint on the surface. Peel off the tape before paint has dried completely, ideally about an hour after you’ve finished painting, to avoid accidentally removing any dried paint along with it. Leaving the painter’s tape on too long is one of the most common painting mistakes people make.
Drying Time
- Follow the manufacturer’s drying instructions, which you’ll find on the can, to make sure the paint is completely dry before applying second coat if needed.
- Different kinds of paint dry at different speeds—and they’ll feel dry to the touch before they’re ready for you to lay on an extra coat. A latex-based paint will feel dry to the touch in about an hour, and be ready for a second coat in four hours. An oil-based paint takes six hours to feel dry, and you should wait a day to apply a second coat.
- Dry time and cure time are different. Dry time is when the paint feels dry to the touch, while cure time is longer, typically 7—10 days. During the cure time, care should be taken to avoid brushing up against the painted areas to avoid marking or burnishing the finish. As the paint cures, it obtains its full hardness and durability.
Explore premium painting supplies for Georgetown, KY with Perspectives Inc. Call (859) 277 0521 for expert advice and professional-grade solutions today.
Find premium painting supplies in Georgetown, KY, at Perspectives. Contact 859-277-0521 for expert guidance and quality products for every project.
Discover quality painting supplies for Georgetown, KY at Perspectives Paint and Design Center. Call 859-277-0521 for expert guidance today!

Choosing the correct roller cover for your specific project. Don’t just roll over and buy the cheapest roller cover on the shelf! Start with knowing your desired texture as well as the sheen of paint you will be using. Next, you’ll need to decide on a knit, woven, microfiber or foam roller cover. Knit rollers have a looped construction that holds more paint and are better suited for textured surfaces and using flat or eggshell paint finishes leaving some texture on the surface. Woven rollers have a tighter weave that provides a smoother finish, don’t hold as much paint but are more shed resistant. Microfiber rollers hold more paint and apply paint smoothly, has reduced spatter and lint. They are great for many finishes and are easy to clean and reuse. ** We recommend microfiber roller covers for consistent control and smooth finishing. Foam rollers create a very smooth finish and are recommended for cabinet and furniture surfaces. Next characteristic you want to focus on is the nap height, which is the length of the fibers that extend from the backing and carry the paint to the wall. These are some general guidelines to help you. Shorter nap (3/16” or 1/4″) are for smooth surfaces such as new drywall, choose these to evenly apply the paint and maintain a smooth finish. Because a shorter nap picks up less paint, it is common for some painters to use a longer nap for increased production. While this can help speed up your painting project, it is important to note that higher naps may leave a textured look on a smooth surface. Always remember to select a nap height that will provide you with your desired finish regardless of the paint pick up and release capabilities. Medium nap (3/8” to 1/2”) are the most commonly used nap. Used correctly, they can be used on smooth to medium textured surfaces. These naps combine production speed with the ability to leave a smooth finish that will speed up a project while giving very good finish results. Medium naps come in a wide variety of fiber types, sizes and naps, giving the user the option to choose just the right combination of roller cover size, fabric and nap to complete their job. Higher nap (3/4” to 1 ½”) are for rough surfaces so the long fibers can reach into the valleys of the texture. Higher nap heights are great for textured plaster or stucco, siding, decks, concrete block, brick, and corrugated metal. Long nap heights offer great paint pick up and release, which makes getting into all the cracks and crevices of the surface easier. A higher nap will provide better coverage on a highly textured surface.
1. Prepare the Wall: Clean the walls thoroughly, remove any existing wallpaper, and repair any damage. Don’t use Dawn or any other house soap because it will leave glycerin build up on the wall. Never apply paper to an unpainted surface like drywall. APPLY sizing to the wall, to ensure proper adhesion and easier removal. If you are hanging light-colored wallpaper over a dark color or a dark color over a lighter color TINT your sizing to prevent the old color showing through. Read the directions on your sizing for specific drying times. 2. Measure and Cut: Before starting make sure that the run numbers on all rolls are the same. Cut one piece to start. Measure the wall height and add a few extra inches to the top and bottom of each strip. Cut the wallpaper strip according to your measurements. For additional strips, make sure to allow for pattern match. Before cutting the next strip, hold the paper up to the strip on the wall to see where the pattern match is and determine how long to cut the next strip. If you are working with multiple rolls, you can sometimes reduce waste by cutting the next strip from another roll. Since you can only return full, uncut rolls, make sure that you will need paper from another roll before cutting it. 3. Apply Paste (if needed): Read your papers’ directions. Some call for applying the paste to the paper and others are “paste the wall”. 4. Book the Wallpaper if required by the instructions by folding the pasted strip in on itself (booking) for a few minutes to allow the paste to activate. Follow the instructions for the correct time to allow the paper to book and fold the paper loosely; don’t crease the paper! 5. Hang the Wallpaper: Start with a straight line. Use a plumb line, chalk line or a laser level line. Align the first strip at the top of the wall, allowing it to overlap a little at the top and bottom, then smooth it onto the wall from top to bottom, working out any air bubbles with a smoother and a wet sponge. 6. Trim the overlap: Trim the excess paper at the ceiling and baseboard. Use a straight edge and a very sharp cutter. Ensure seams are properly aligned and pressed firmly to the wall and use gently a roller tool if appropriate. Be careful not to press too hard when smoothing so you don’t squeeze all the paste out, especially at seams. 7. Finishing: Clean any excess paste from the wall using clean clear water. Don’t hang anything on your new wallpaper including electrical outlet covers, paintings, shelves and other fixtures for at least 24 hours.. Tips for Success: Don't stretch the paper: Avoid pulling or stretching the wallpaper while hanging, as this can distort the pattern and cause seams to separate when the paper dries. Work with a partner: Having someone to help guide the paper and hold edges can make the process smoother, especially with larger patterns. Practice with a small section: If you're new to wallpapering, practice on a hidden area of the wall, like behind a door or with a small piece of wallpaper to get the “hang” of the process.

Read about essential painting supplies in Georgetown, KY, that professionals rely on with Perspectives Inc. Click here and find out more!
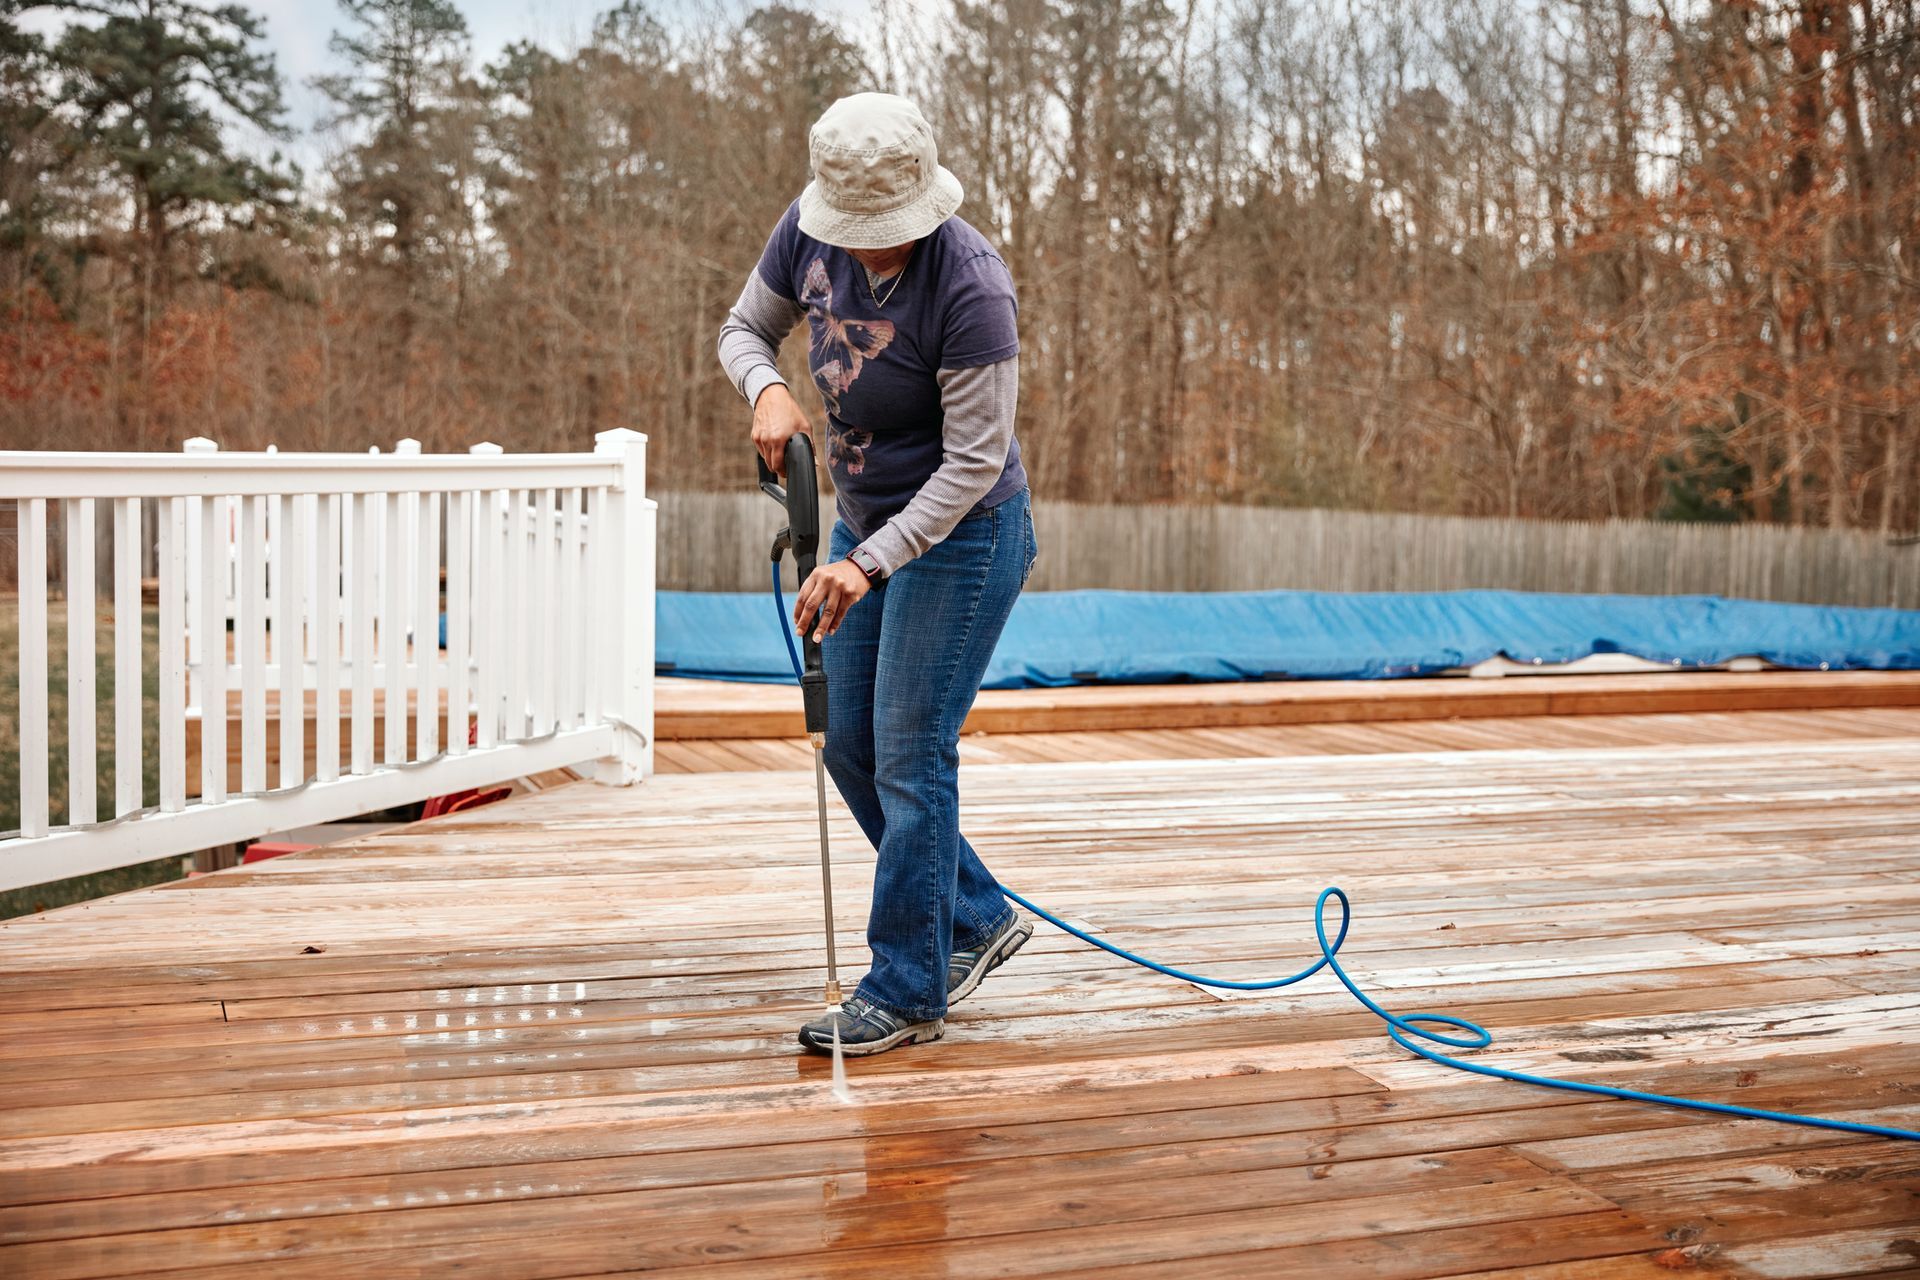
1. Move all furniture – tables, chairs, grills, planters, etc. off deck.

Discover the right sandpaper for your project with our comprehensive grit guide. From coarse to ultra-fine, choose the best sandpaper for your sanding needs.

Learn about the best caulk products for different projects, from kitchens to exteriors. Get expert advice on selecting the right caulk for your needs.

Master the art of painting and design with tips and tricks from Perspectives Inc. in Lexington, KY. Click here to learn more about our renovation insights.